
✅ Step 1: Install Laravel 10
If you don’t already have a Laravel project, create one:
composer create-project laravel/laravel laravel-email-demo
cd laravel-email-demo
✅ Step 2: Configure Mail Settings in .env
Open your .env file and set your mail configuration.
Example with Mailtrap (for testing):
MAIL_MAILER=smtp
MAIL_HOST=smtp.mailtrap.io
MAIL_PORT=2525
MAIL_USERNAME=your_mailtrap_username
MAIL_PASSWORD=your_mailtrap_password
MAIL_ENCRYPTION=null
MAIL_FROM_ADDRESS=example@example.com
MAIL_FROM_NAME="${APP_NAME}"
Example with Gmail:
MAIL_MAILER=smtp
MAIL_HOST=smtp.gmail.com
MAIL_PORT=587
MAIL_USERNAME=your_gmail@gmail.com
MAIL_PASSWORD=your_gmail_app_password
MAIL_ENCRYPTION=tls
MAIL_FROM_ADDRESS=your_gmail@gmail.com
MAIL_FROM_NAME="${APP_NAME}"
⚠️ Tip: If you're using Gmail, be sure to enable 2FA and generate an app-specific password.
✅ Step 3: Create a Mailable Class
Run this Artisan command:
php artisan make:mail TestEmail
This creates a file at app/Mail/TestEmail.php. Open it and modify:
<?php

namespace App\Mail;

use Illuminate\Bus\Queueable;
use Illuminate\Mail\Mailable;
use Illuminate\Queue\SerializesModels;

class TestEmail extends Mailable
{
    use Queueable, SerializesModels;

    public $details;

    public function __construct($details)
    {
        $this->details = $details;
    }

    public function build()
    {
        return $this->subject('Test Email from Laravel')
                    ->view('emails.test');
    }
}
✅ Step 4: Create the Email View
Create the file resources/views/emails/test.blade.php:
<!DOCTYPE html>
<html>
<head>
    <title>Laravel Email</title>
</head>
<body>
    <h1>{{ $details['title'] }}</h1>
    <p>{{ $details['body'] }}</p>
</body>
</html>
✅ Step 5: Trigger the Email
Add this route to routes/web.php:
use Illuminate\Support\Facades\Mail;
use App\Mail\TestEmail;

Route::get('/send-email', function () {
    $details = [
        'title' => 'Welcome to Laravel!',
        'body' => 'This is a test email using Laravel 10.'
    ];

    Mail::to('receiver@example.com')->send(new TestEmail($details));

    return "Email sent successfully!";
});
✅ Step 6: Test Your Email
Start the Laravel development server:
php artisan serve
Visit this URL in your browser:
http://127.0.0.1:8000/send-email
You should see the message:
"Email sent successfully!"
And if everything is configured correctly, you’ll receive the test email in your inbox.
✅ Final Thoughts
Laravel makes it easy to send beautiful, dynamic emails. You can go further with:
- Queueing emails for performance
- Markdown-based email templates
- Notifications system
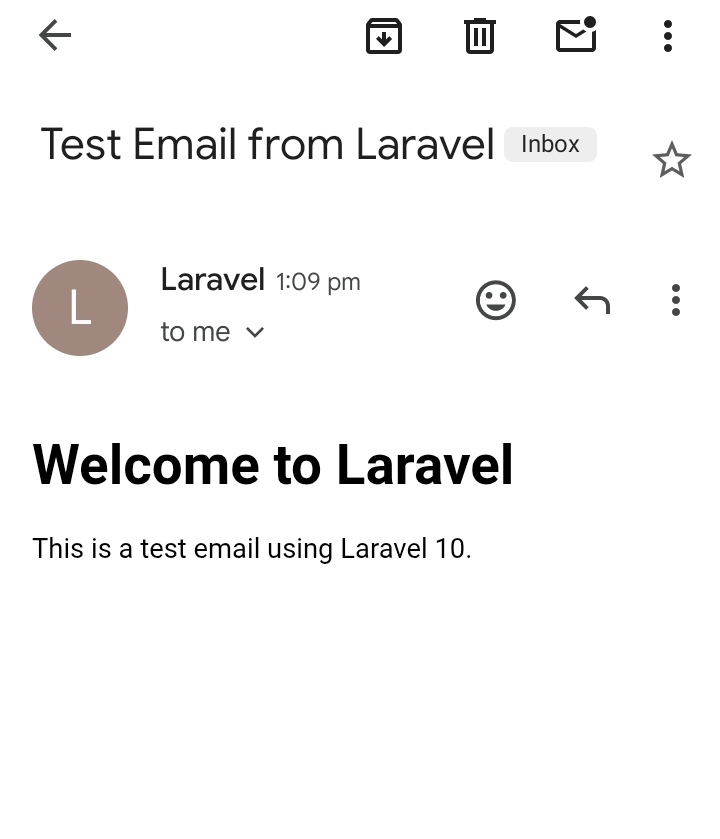
Email Preview :

I'm a dedicated full-stack developer with expertise in building and managing dynamic web applications across both frontend and backend.